
September 9, 2026
From a Basic 3D Print to Custom Collectible Packaging
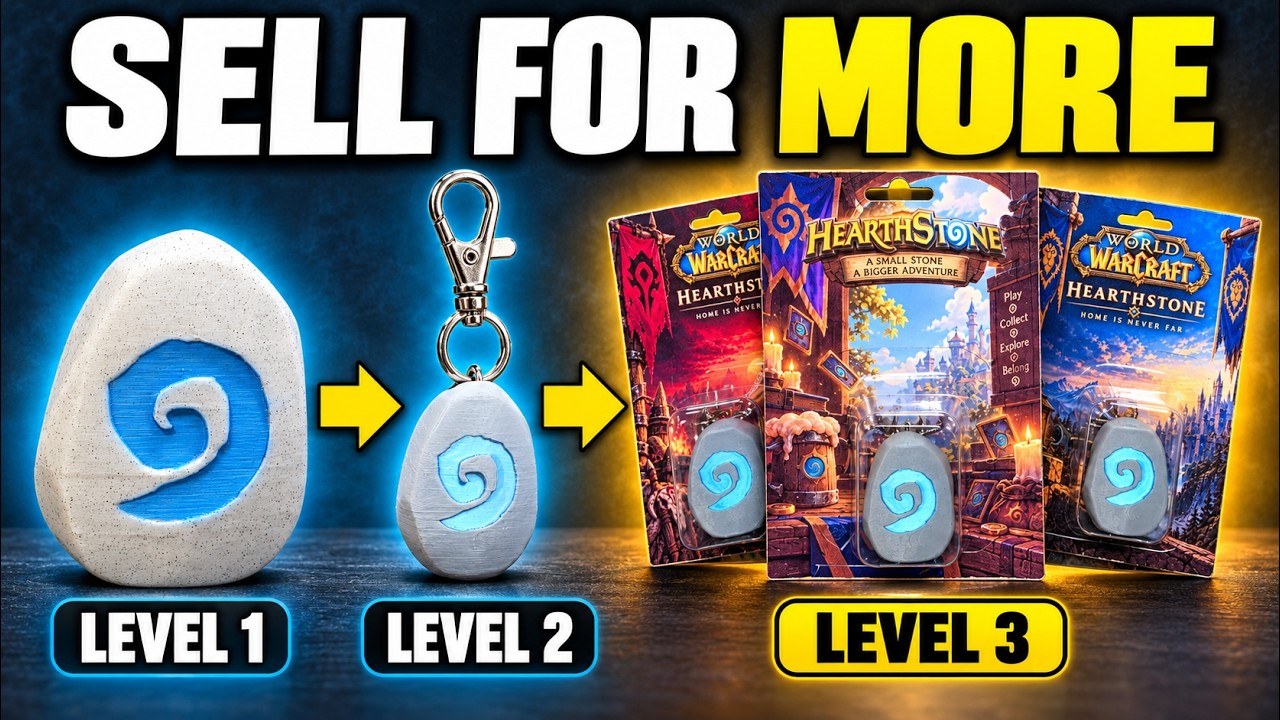
Watch the video on YouTube. Opens in a new tab.
I like making cool stuff for myself. Sometimes that means printing a figurine. Sometimes it means deciding the figurine needs its own box, because apparently just putting it on a shelf is too easy.
This project started with a little Hearthstone print and ended with custom blister packaging. The idea was to take the same object through a few levels: a basic print, a keychain, and then something that looks like it belongs on a collectible display.
This is my first prototype, not a finished production process. There are creases, questionable cutting, and a few things I would definitely do differently next time. That is the useful part of the video, though. You get to see how I work through it.
The game-themed pieces shown here are personal projects, not products I sell. If you use the idea for your business, apply it to your own designs or things you have the rights to sell.
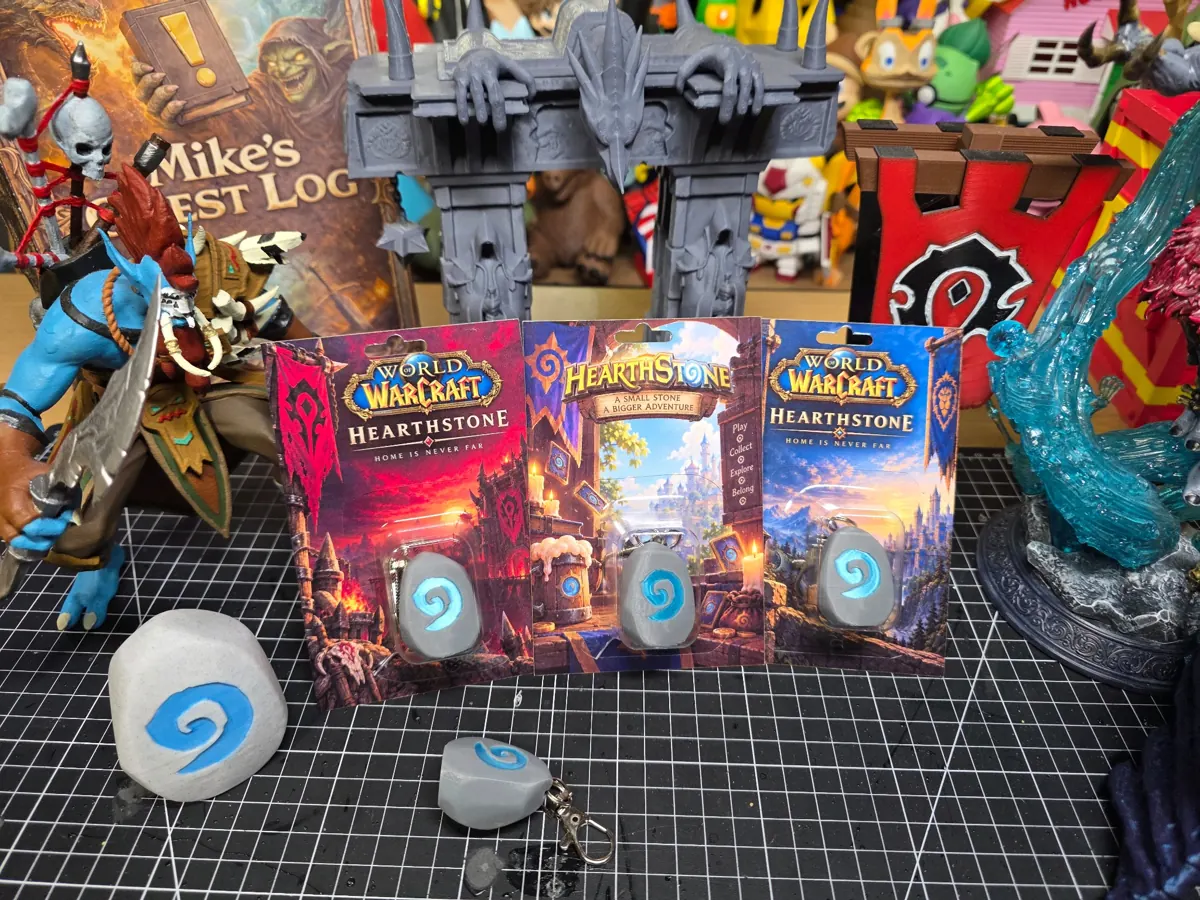
The same basic idea, taken from a loose print to a keychain and then a packaged display piece.
Level 1: give the print another reason to exist
In the video, I describe the little print as about 20 cents of plastic. Add roughly another 20 cents of keychain hardware and it becomes something you can actually carry around. Those are rough material costs for my example, not the full cost of making and selling it.
It is a small change, but now the print has a purpose beyond sitting on a shelf. You have not reinvented anything. You have just given someone another reason to want it.
Level 2: make it worth a second look
A pile of loose keychains can disappear into everything else on a display. A backing card gives you room for artwork, a name, and a bit of personality. A clear blister keeps the item visible while making the whole thing feel more finished.
To me, that collectible feel is a big part of the appeal. It does not magically guarantee sales or mean you can charge whatever you want. But I think presentation gives a good product a better chance of being noticed. And if you are making it for yourself, it is just a fun way to display it.
I started with simple display boxes
Before the blister packs, I made boxes for some of my figurines. You can see the earlier process in my short about making custom boxes for 3D prints. That is a useful starting point if you want to try this with a regular printer and basic tools.
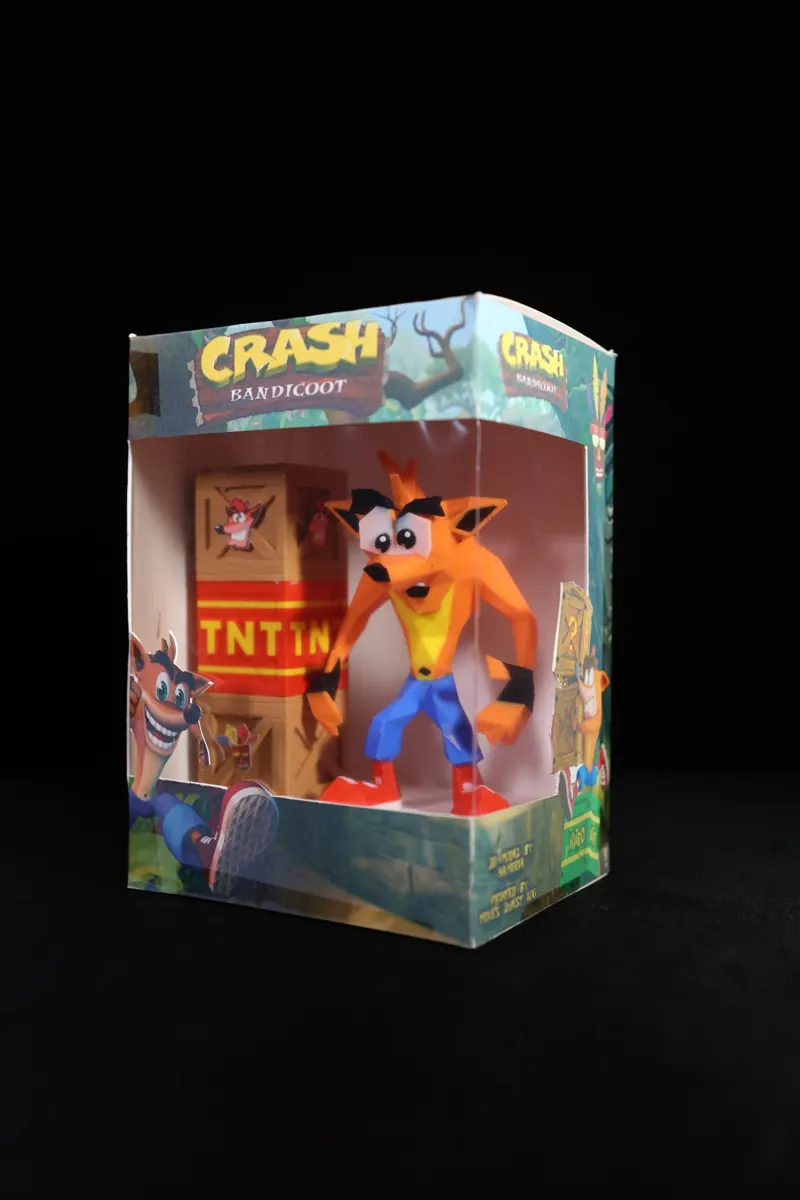
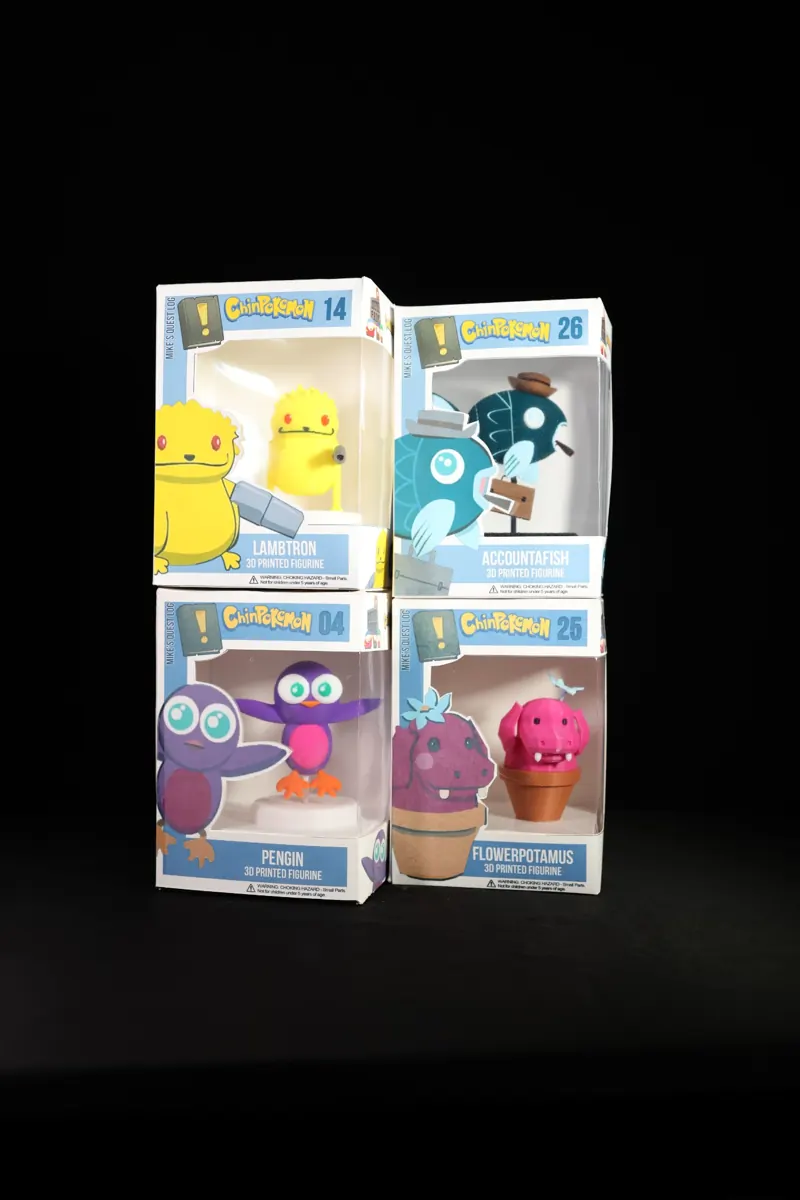
Earlier display-box projects. The packaging is part of the project, not just something to throw away.
For those boxes, I started with a template, added my artwork, and printed it on 110 lb cardstock. It was still a bit flimsy, so doubling up the card was one of the improvements I wanted to try. I cut along the template, creased the folds with a ruler, and added a clear window made from a laminating pouch run through the laminator.
Then it was a matter of taping the window in place, gluing the body together, and folding the top and bottom closed. My cuts were not especially accurate, so some extra tape was involved. I also printed an insert to lift the figurine and reinforce the bottom. Nothing about that first box was perfect, but I liked it enough to keep going.


The front shows the print. The sides give you room to carry the design around the box.
Level 3: form a clear blister around the item
For the smaller keychain packaging, I printed forming blocks slightly larger than the items. The sides are sloped and the corners rounded so the formed sheet has a better chance of releasing. I printed mine in PETG with eight walls.
I used the vacuum-forming attachment on the xTool WonderPress. The modular setup is what makes that machine interesting to me. I had already made shirts with it, but the vacuum-forming attachment is probably my favorite part so far.
You do not need this exact machine. If you already have a vacuum former, use it. There are cheaper options, too. The point of the project is what you can make with the process.
My sheet was 0.5 mm PETG. I selected that material preset, reduced its temperature setting by three degrees, and used high suction. That was my setup for this attempt, not a universal recipe for every sheet. Follow the settings and instructions for your own equipment and material.
Once the sheet was heated, I lowered the frame and held both sides down for about ten seconds while the vacuum started. The machine continued pulling vacuum after that. Then I removed the sheet and let it cool before releasing the blocks.
I lowered it too hard, the blocks moved, and I got a crease. Some corners also needed more rounding. So much for perfect results on the first try. The blocks are reusable, which means the time spent refining them should pay off when I make the next batch.
Print the backing card, then cut it out
The M2 was sent to me to test. I used the xTool M2 ColorCraft to print the artwork and cut the backing shape. I like having the equipment available and using it on actual projects. It also gives me more opportunities to find out what works and what gets annoying over time.
A normal printer and a craft knife or scissors can do this part as well. The older boxes in the photos were printed on my inkjet printer. You can start there without buying another machine.
For this prototype, I put a self-adhesive printable surface over the board because I wanted stronger colors than the plain matte surface gave me. Material check: do not laser-cut PVC or an unknown adhesive vinyl. Use material confirmed suitable for your laser, or cut it with a blade. xTool’s M2 material guide explains the restrictions.
The part I need to improve: assembly
I could not find my good scissors or clear glue. Naturally, I carried on anyway. Freehand trimming was not my best idea, and I was already thinking about printing a cutting jig before I had finished the first piece.
The basic assembly is simple: trim the blister, position the item against the backing card, and attach the blister around it. Doing that neatly and consistently is the part that takes practice. Test your adhesive on scraps first so you do not spoil the clear plastic or artwork.

The first blister-pack prototypes. The next step is making the trimming and alignment more repeatable.
A cutting jig would let me trim the same outline every time. A centering jig would help place the blister without eyeballing it. I also want to refine the forming blocks so the corners release more cleanly and the sheet is less likely to crease.
Where I want to take this next
Once the design and assembly are dialed in, repeating them should be much easier than figuring everything out from scratch. That is when I would start looking at the actual time, material use, and cost per finished piece.
I will be working on more designs and a fuller tutorial. For now, this is the idea and the first attempt, with all the trial and error left in. If it makes you look at one of your prints and think of a better way to present it, that is exactly what I was going for.
Personally, I am probably just going to end up with more cool boxes on my shelves. I am fine with that.


